简体中文
繁體中文
English
Pусский
日本語
ภาษาไทย
Tiếng Việt
Bahasa Indonesia
Español
हिन्दी
Filippiiniläinen
Français
Deutsch
Português
Türkçe
한국어
العربية
How to Open a Live Account with NCE? (Web)
Abstract:Looking to trade with NCE? Here's our straightforward guide on how to get started with a live account.
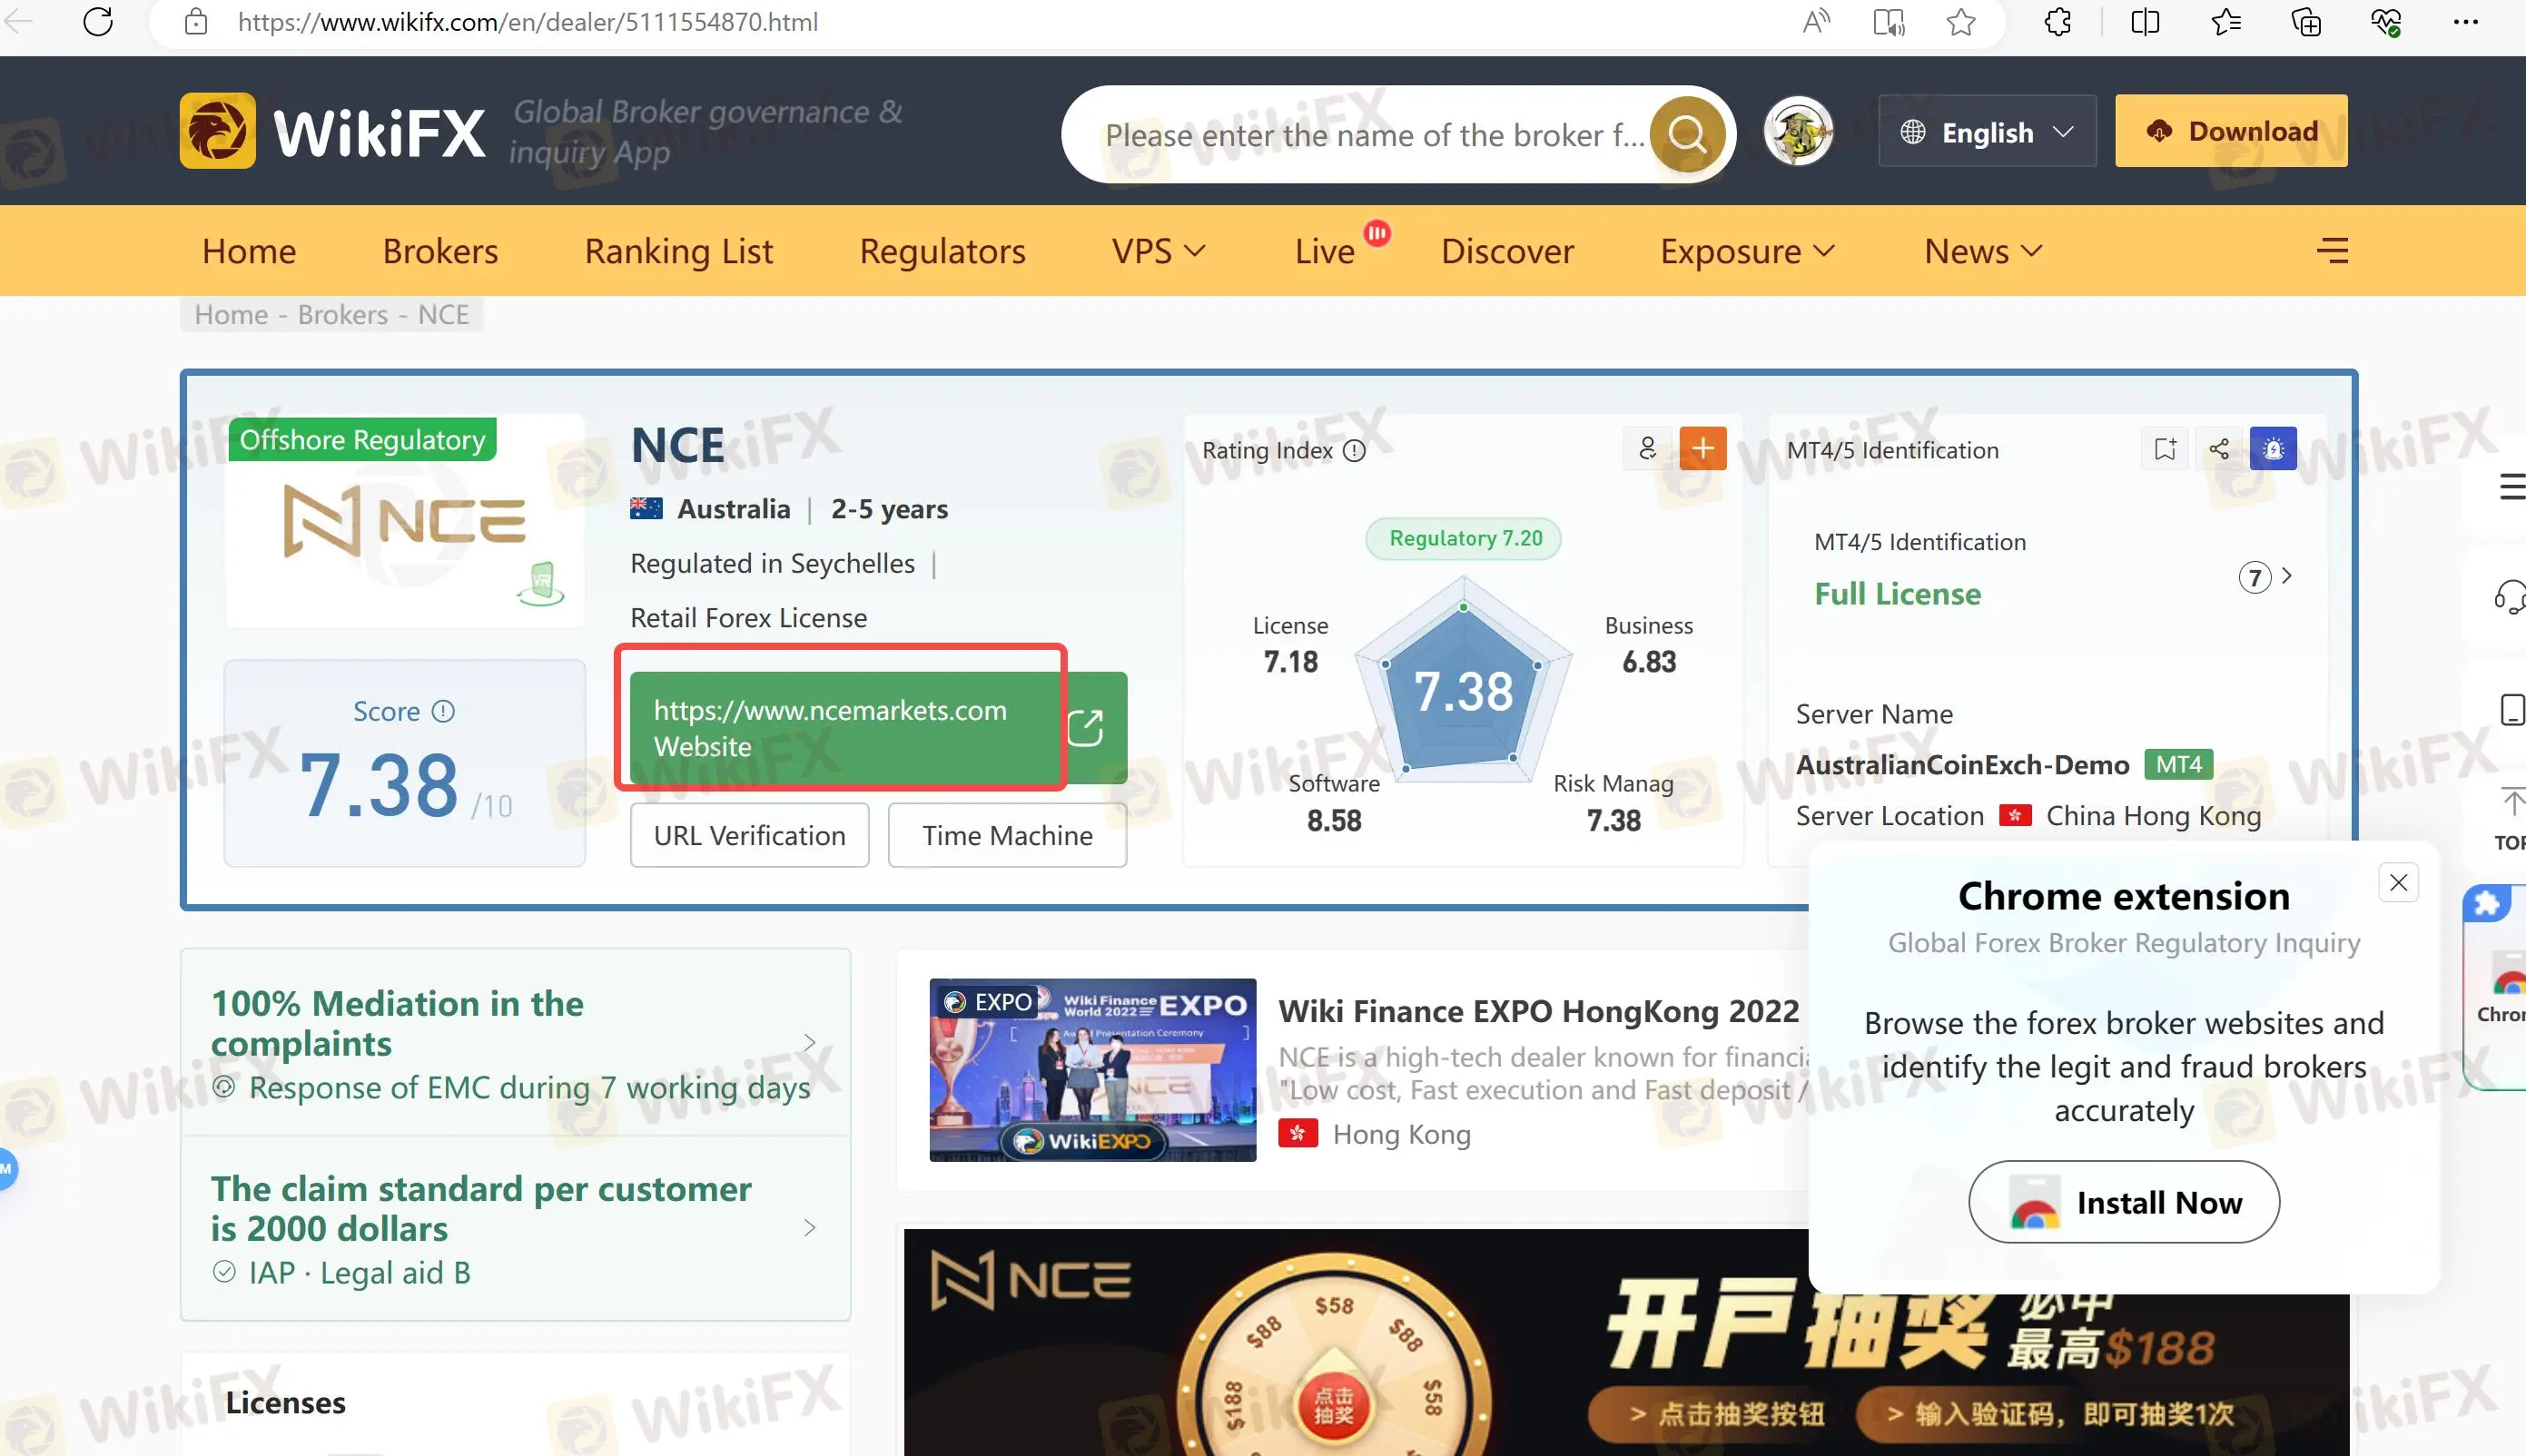
Step 1: You can directly access easyMarkets on WikiFX by visiting the following URL: https://www.wikifx.com/en/dealer/5111554870.html. Then, simply click on the green label as shown in the screenshot below.

Step 2: Click the button ''Sign Up'' on the homepage.

Step 3:
Fill in your first name and last name on the provided fields.
Select your country from the dropdown menu.
Enter your email address on the designated field.
Key in your phone number.
Set a secure password for your account. (Password must be 8 - 32 characters, must contain uppercase letter, lowercase letter and number and special characters. )
Review and agree to the Customer Agreement by ticking the checkbox.
Click on the “Continue” button.

Step 4:
An email will be sent to your registered email address to confirm your account. Ensure to check your inbox and spam folders.
Click on the link received in the confirmation email to activate your account.

Step 5:
A message will be sent to your mobile phone. Enter the PIN in the message to confirm your account.

Register successfully.

Step 6: Then enter the email and password to sign in.

Step 7: Sign in successfully. Then click the button “MT5”.

Step 8: Download MetaTrader 5 (MT5).

Step 9: After downloading, choose the company NCE SC Limited.

Step 10: Select the third option “Connect with an existing trade account” and enter the ID and password.

Step 11: You can start your trading now.

Step 12: If you want to change the language, you can follow the following steps:
Click on the “View” tab in the top menu bar.
Hover your mouse over “Languages”.
A list of languages will appear. Select your preferred language from the list.

Step 13: After you select your preferred language, a pop-up window will appear asking you to confirm if you want to restart the terminal. Click “Restart” to apply the changes.

Step 14: After restarting, click the button ”OK.

Disclaimer:
The views in this article only represent the author's personal views, and do not constitute investment advice on this platform. This platform does not guarantee the accuracy, completeness and timeliness of the information in the article, and will not be liable for any loss caused by the use of or reliance on the information in the article.
WikiFX Broker
Latest News
ASIC Sues HSBC Australia Over $23M Scam Failures
Trader Turns $27 Into $52M With PEPE Coin, Breaking Records
Singaporean Arrested in Thailand for 22.4 Million Baht Crypto Scam
Elderly Trader Loses RM2.1M in WhatsApp Forex Scam
Spotware Unveils cTrader Store, Global Marketplace for Algo Creators
Gigamax Scam: Tracking Key Suspects in RM7 Million Crypto Fraud
WikiFX Review: Is IQ Option trustworthy?
CFI Partners with MI Cape Town, Cricket Team
Doo Financial Expands Reach with Indonesian Regulatory Licenses
Understanding the Impact of Interest Rate Changes on Forex Markets
Currency Calculator


